
LABx_Docs - Complete Setup Guide
LABx_Docs - Complete Setup Guide
A simple guide to set up your web security training environment
Table of Contents
- Introduction
- What You Need
- Windows Setup
- Linux Setup
- macOS Setup
- Database Setup
- Install the Project
- How Labs Work
- Common Questions
- Fixing Problems
- Get Help
Introduction
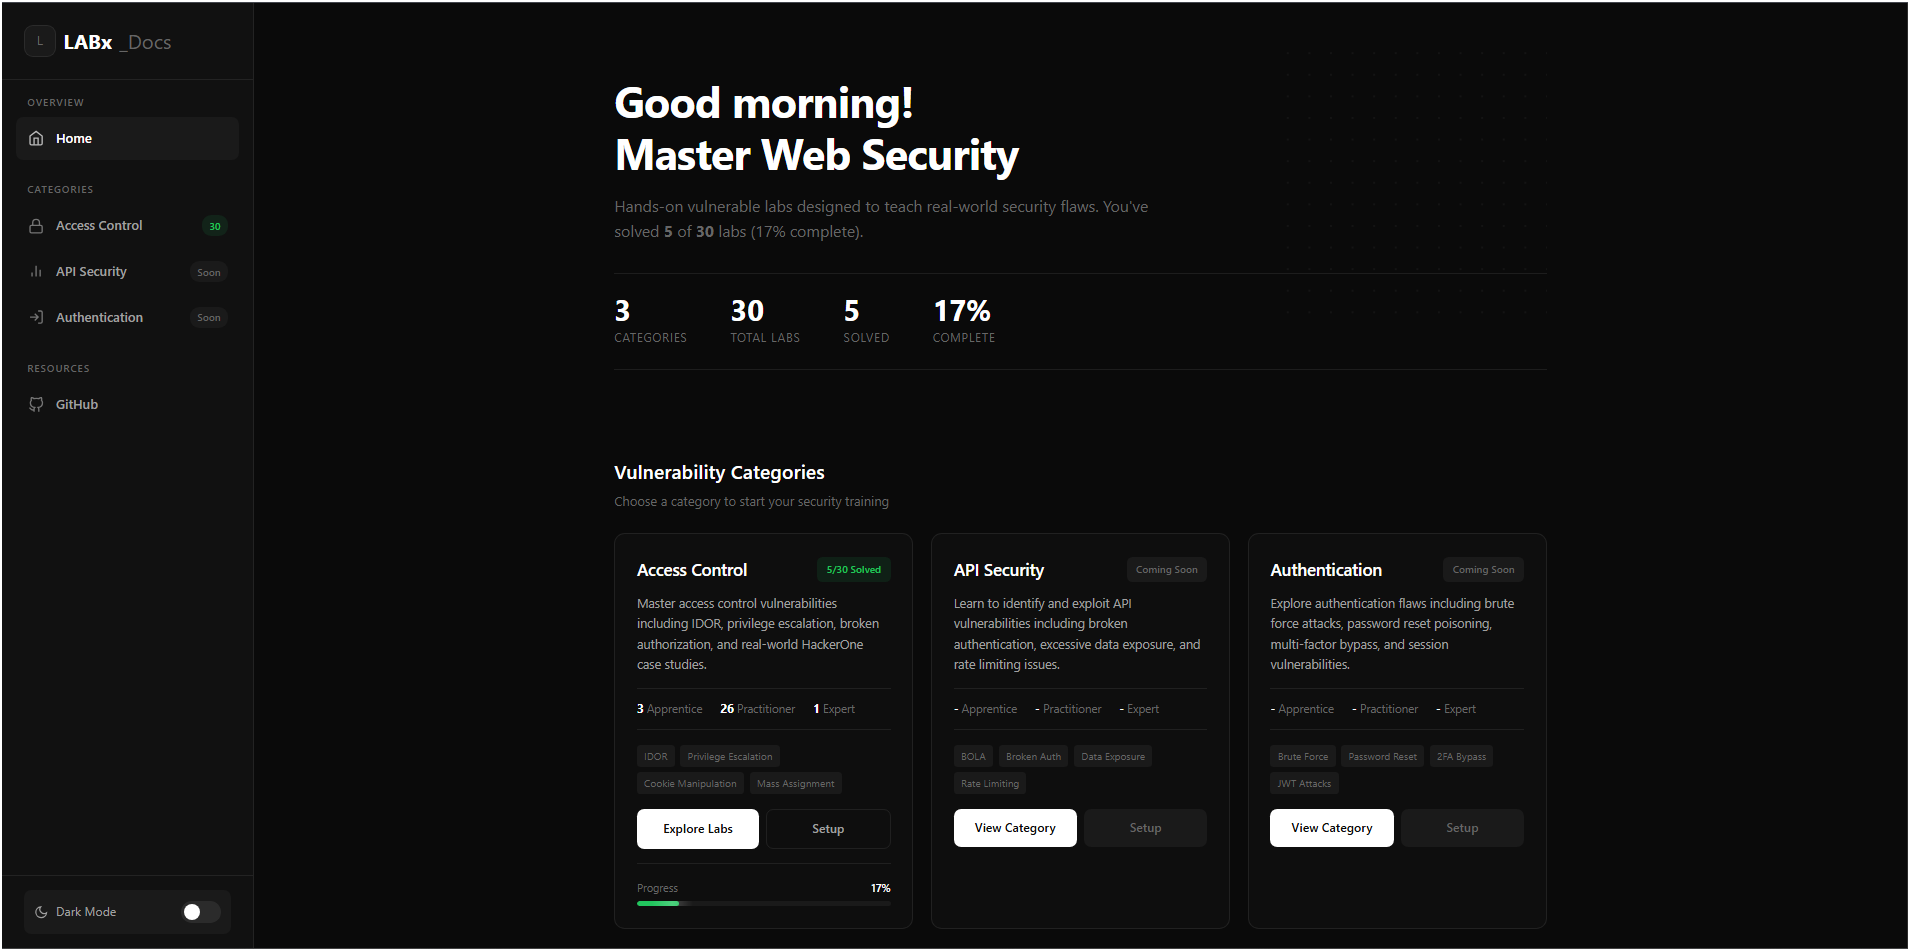
LABx_Docs is a environment where you can learn web security by doing. You will practice finding and using real security problems in a safe environment on your computer.
The environment has different categories:
- Access Control - Learn about IDOR, privilege escalation, and authorization problems
- API Security - Learn about API attacks like mass assignment and rate limiting bypass
- Authentication - Learn about login problems, session attacks, and 2FA bypass
Each lab is a small PHP website with a MySQL database. The labs have documentation, hints, and your progress is saved automatically.
What You Need
Before you start, check that your computer has:
| Thing | Minimum | Better |
|---|---|---|
| RAM | 4 GB | 8 GB or more |
| Free disk space | 2 GB | 5 GB or more |
| Browser | Chrome, Firefox, or Edge | Firefox or Chrome with DevTools |
Helpful tools:
- Burp Suite Community Edition (free) - to see and change HTTP requests
- A code editor like VS Code
Windows Setup
Step 1: Install XAMPP
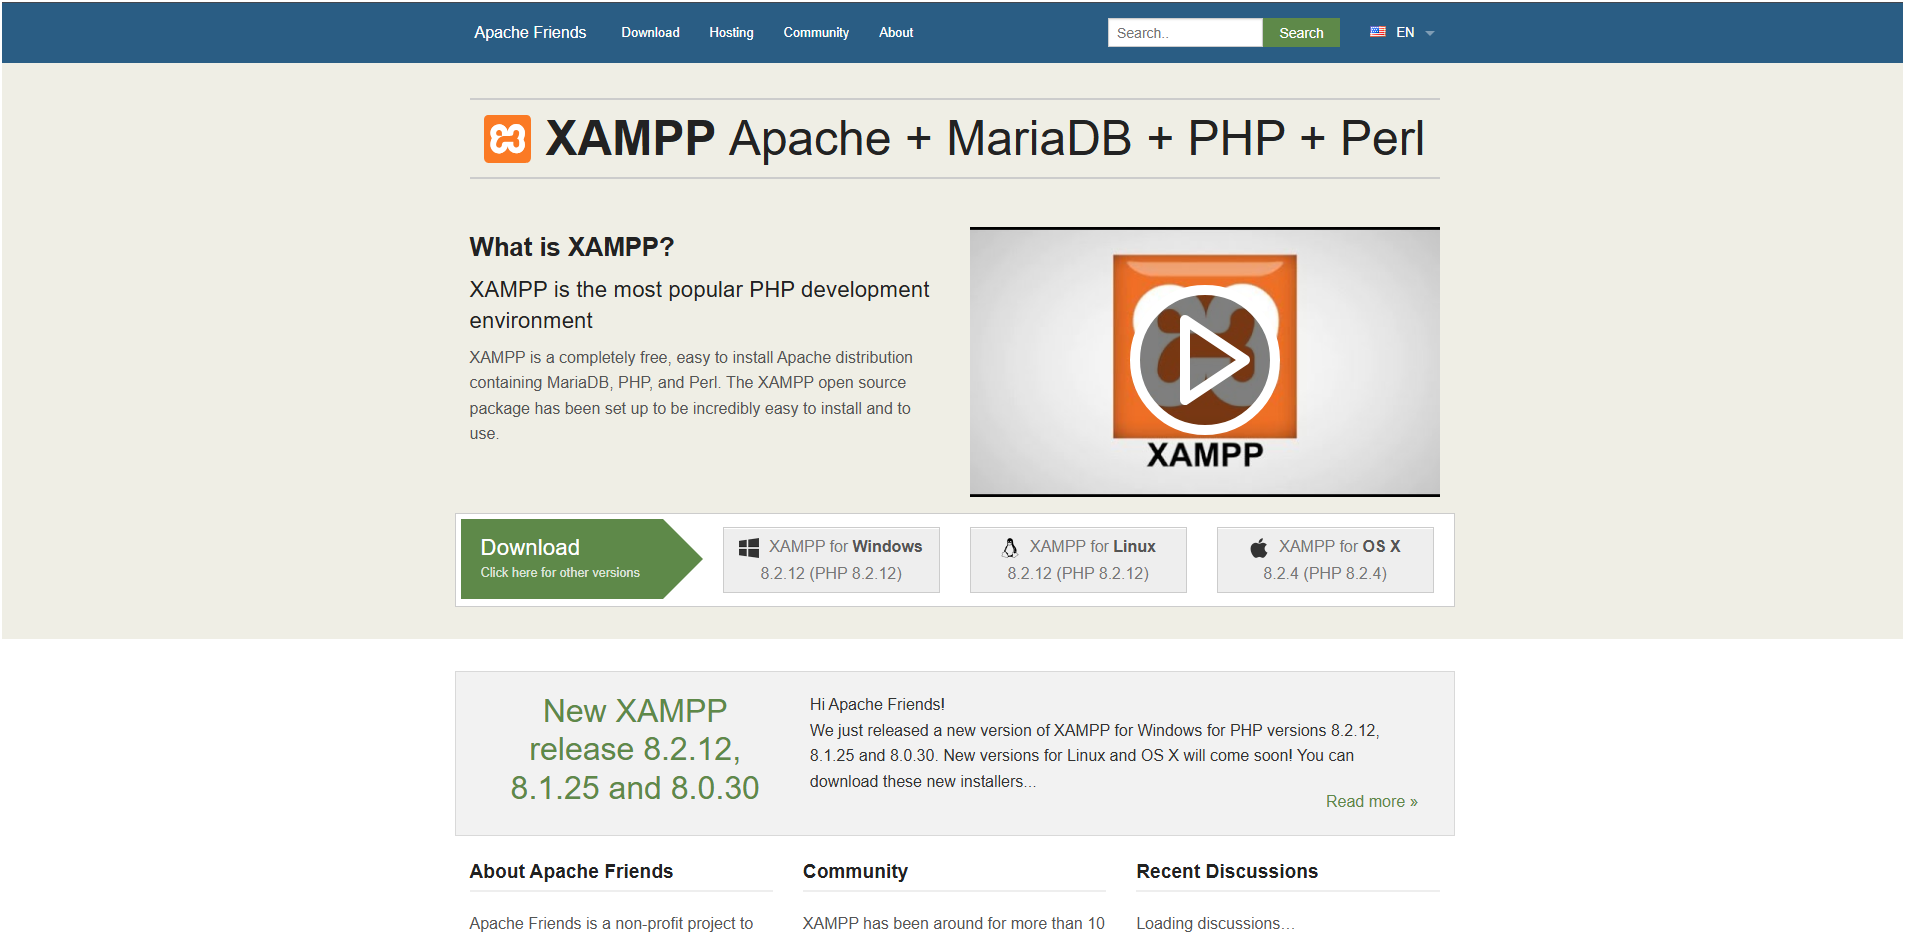
XAMPP gives you Apache, MySQL, PHP, and phpMyAdmin in one package. This is the easiest way to start.
- Download XAMPP
- Go to https://www.apachefriends.org/
- Click the download button for Windows
-
Run the installer
- Double-click the file you downloaded
- If Windows shows a warning, click “More info” then “Run anyway”
-
Choose what to install
- Select these: Apache, MySQL, PHP, phpMyAdmin
- You don’t need the other things
-
Choose where to install
- Use the default:
C:\xampp - Do NOT install in “Program Files” (it can cause problems)
- Use the default:
-
Finish the installation
- Wait for it to complete
- Click “Finish”
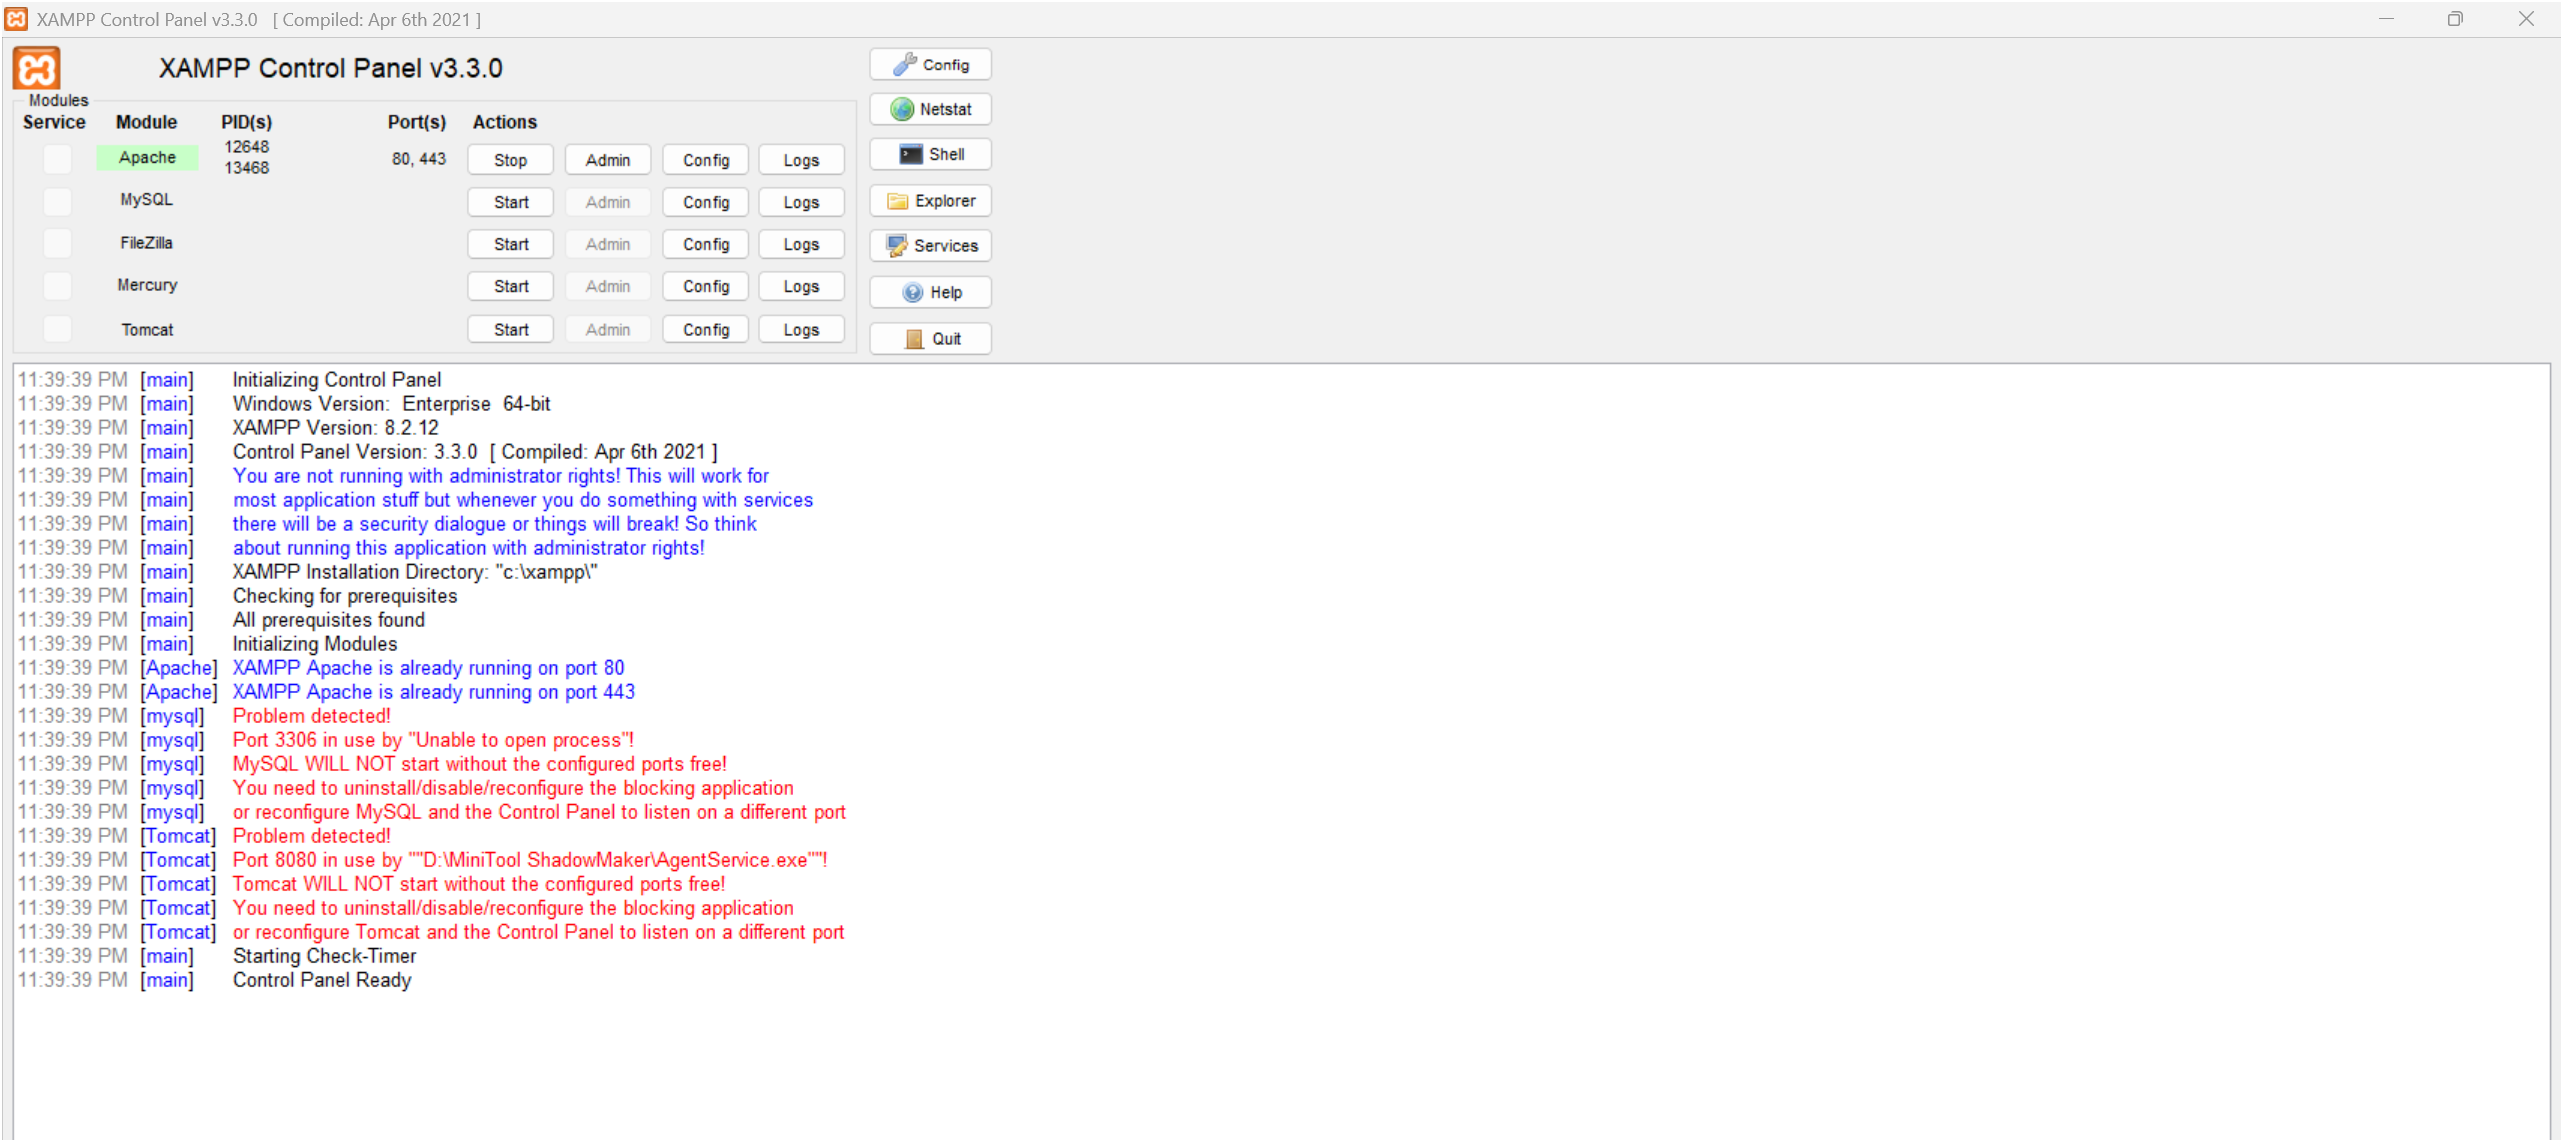
Step 2: Start the Services
-
Open XAMPP Control Panel
- Right-click on it and choose “Run as administrator”
- You can find it at
C:\xampp\xampp-control.exe
-
Start Apache and MySQL
- Click “Start” next to Apache
- Click “Start” next to MySQL
- Both should turn green
- Check it works
- Open your browser
- Go to
http://localhost - You should see the XAMPP welcome page
Step 3: Install MySQL Workbench (Optional)
MySQL Workbench is a nice program to manage your databases. It’s not required, but it helps.
-
Download it
- Go to https://dev.mysql.com/downloads/workbench/
- Choose “Windows (x86, 64-bit), MSI Installer”
- Click “No thanks, just start my download”
-
Install it
- Run the file you downloaded
- Follow the steps
- Choose “Complete” installation
-
Connect to your database
- Open MySQL Workbench
- Click the + button to add a new connection
- Use these settings:
Connection Name: XAMPP Local
Hostname: localhost
Port: 3306
Username: root
Password: root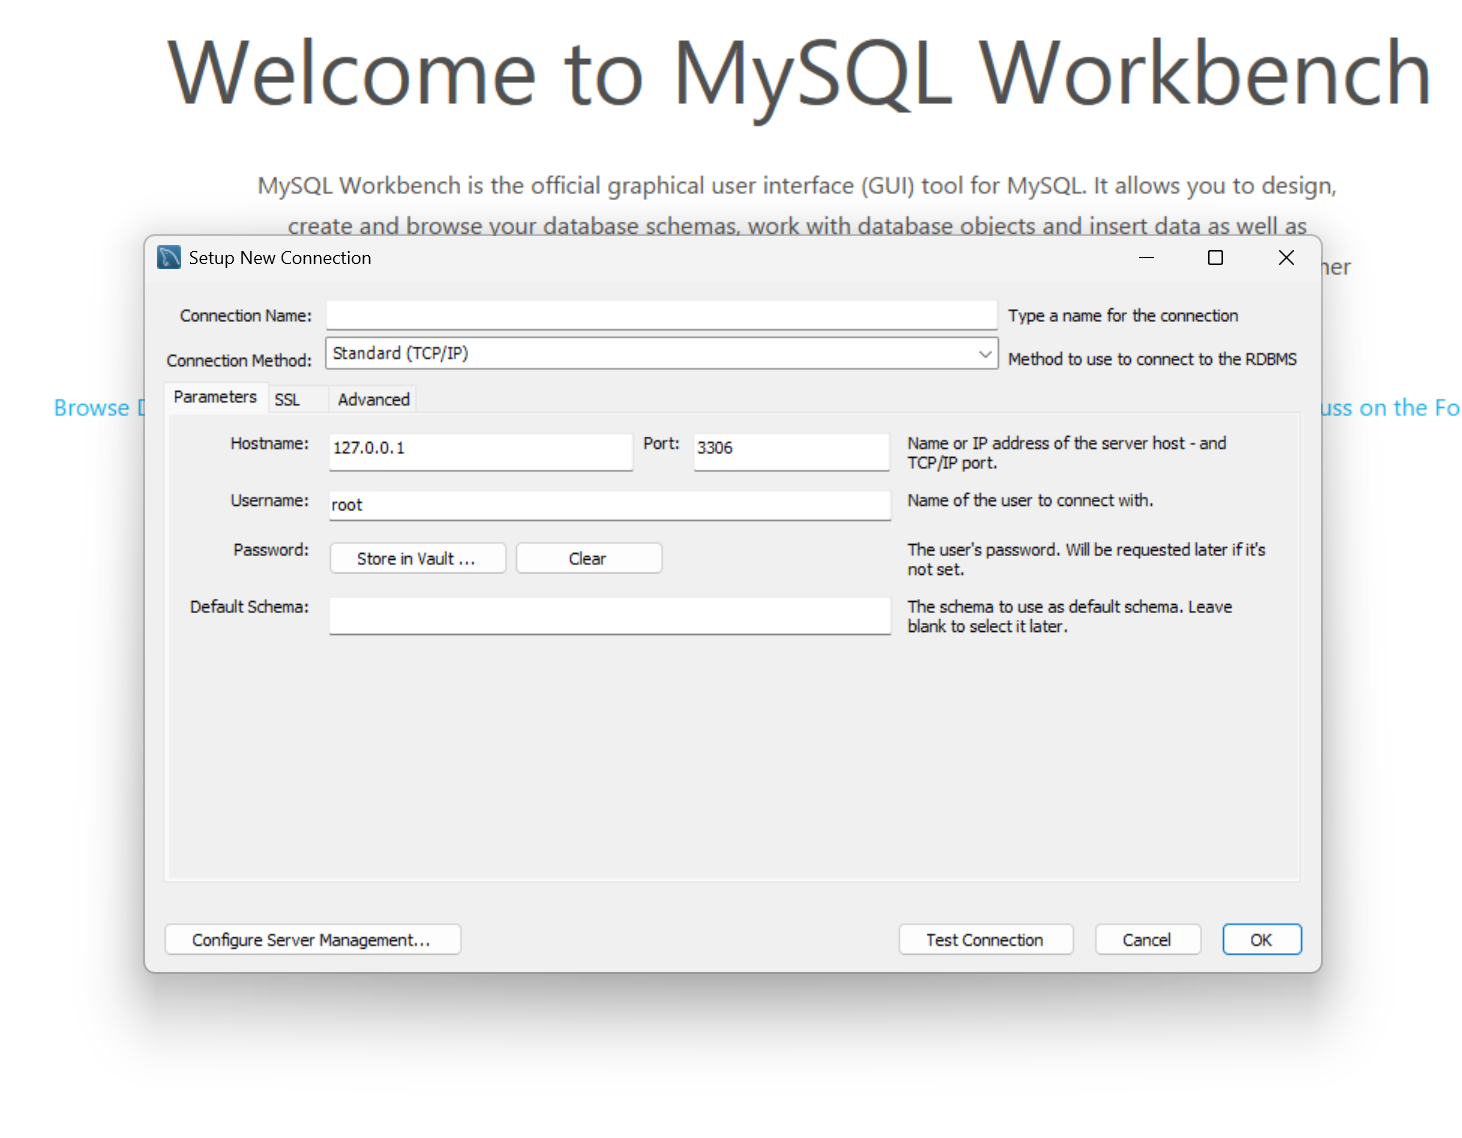
- Test it
- Click “Test Connection”
- You should see a success message
- Click “OK” to save
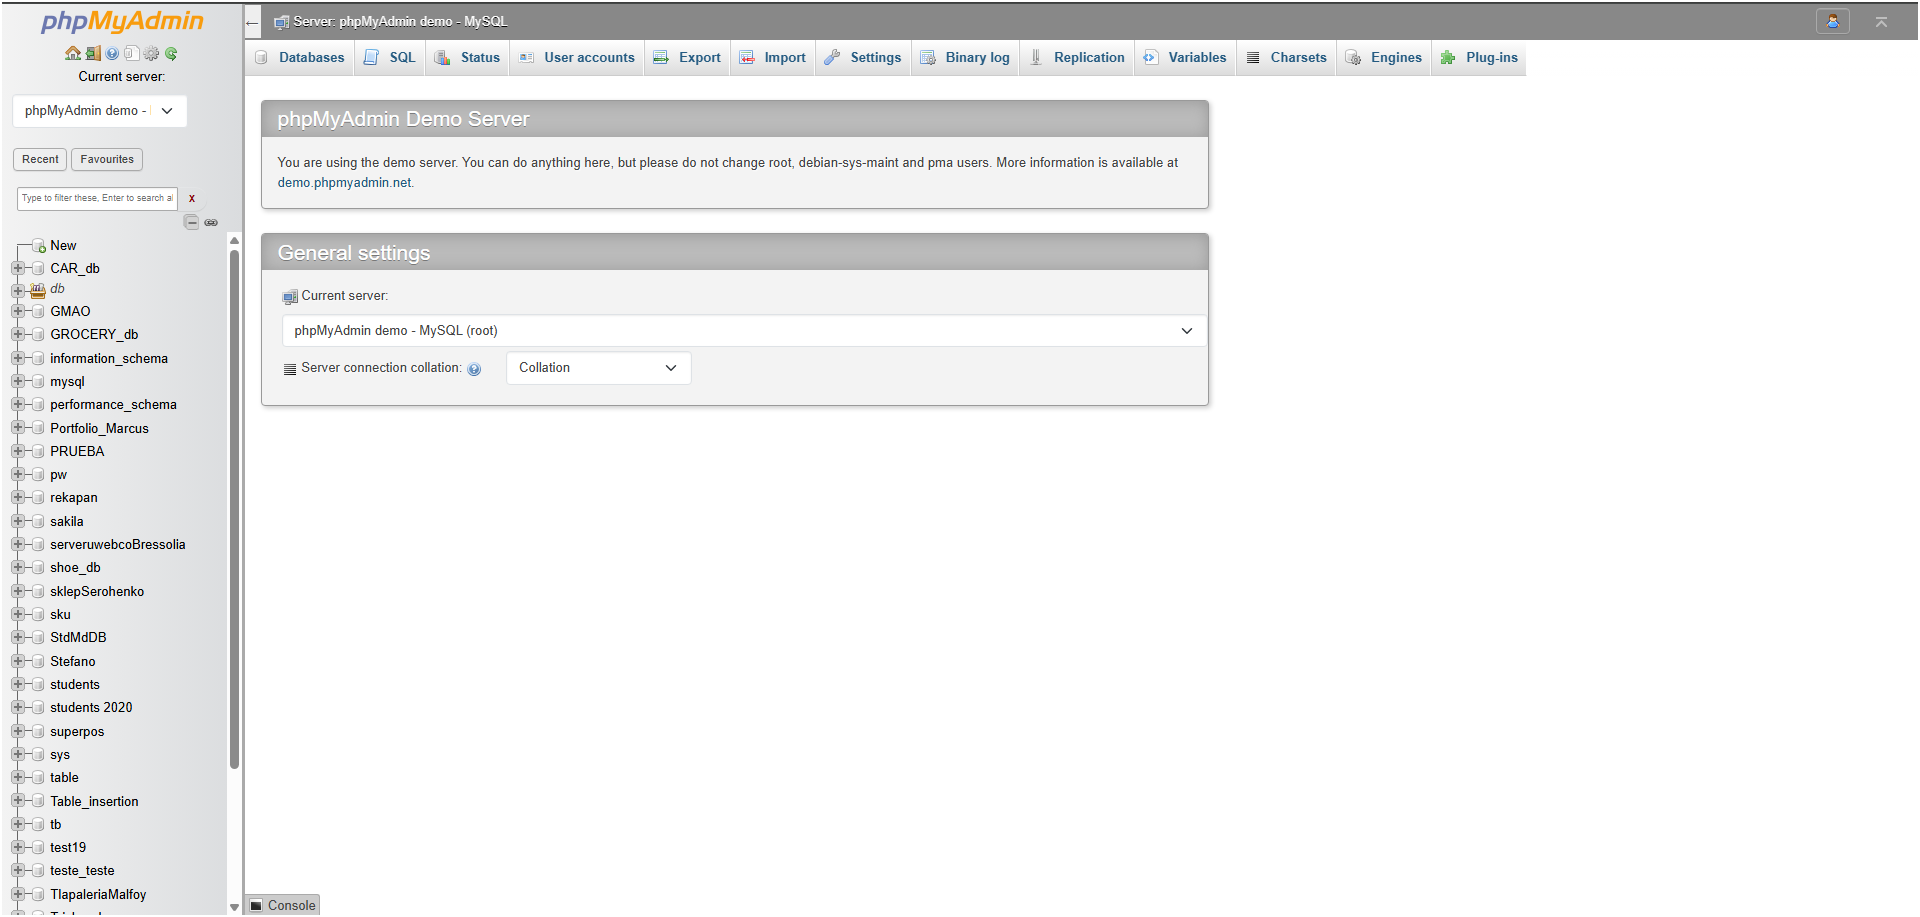
Step 4: Set Up phpMyAdmin
phpMyAdmin is already included with XAMPP. You can access it at http://localhost/phpmyadmin.
- Open phpMyAdmin
- Go to
http://localhost/phpmyadminin your browser
- Go to
-
Set a password for root (recommended)
- Click “User accounts”
- Find the user “root” with “localhost”
- Click “Edit privileges”
- Click “Change password”
- Set password to:
root
-
Update the config file
Open this file:
C:\xampp\phpMyAdmin\config.inc.phpChange these lines:
$cfg['Servers'][$i]['auth_type'] = 'config';
$cfg['Servers'][$i]['user'] = 'root';
$cfg['Servers'][$i]['password'] = 'root';
$cfg['Servers'][$i]['AllowNoPassword'] = false;- Restart MySQL
- Go to XAMPP Control Panel
- Click “Stop” on MySQL
- Click “Start” on MySQL
Linux Setup
Step 1: Install Apache
For Ubuntu or Debian:
# Update your system
sudo apt update

# Install Apache
sudo apt install apache2 -y

# Start Apache
sudo systemctl start apache2
sudo systemctl enable apache2

# Check if it works
sudo systemctl status apache2
For CentOS or Fedora:
# Install Apache
sudo dnf install httpd -y

# Start Apache
sudo systemctl start httpd
sudo systemctl enable httpd

# Open the firewall
sudo firewall-cmd --permanent --add-service=http
sudo firewall-cmd --reload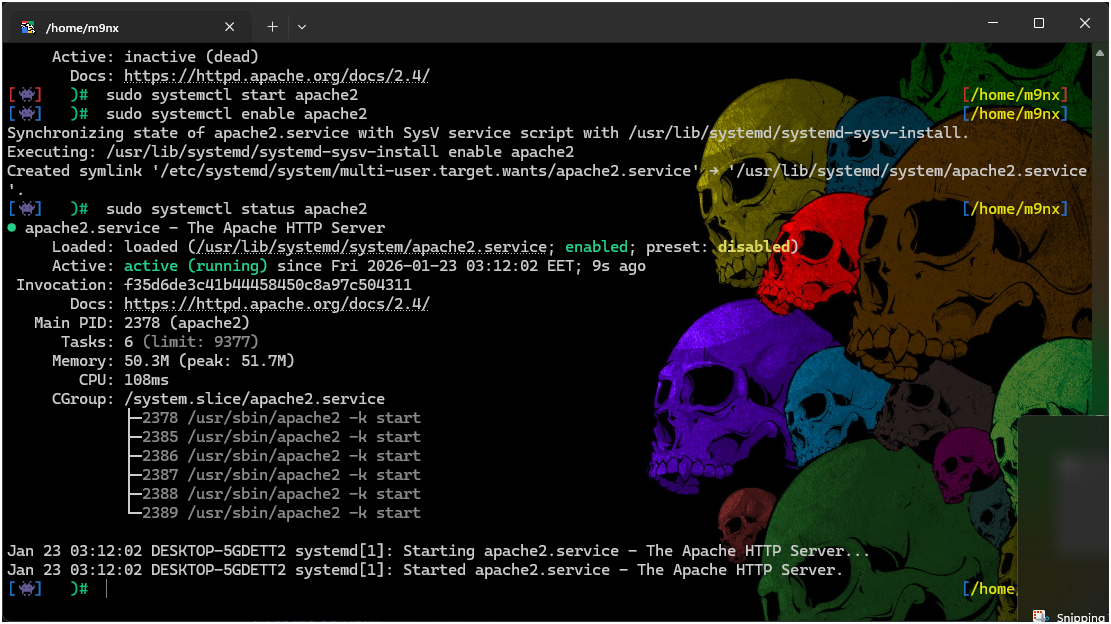
Check it works:
curl http://localhostStep 2: Install MySQL
For Ubuntu or Debian:
# Install MySQL
sudo apt install mysql-server -y

# Start MySQL
sudo systemctl start mysql
sudo systemctl enable mysql

# Make it secure
sudo mysql_secure_installation
For CentOS or Fedora:
# Install MySQL
sudo dnf install mysql-server -y

# Start MySQL
sudo systemctl start mysqld
sudo systemctl enable mysqld

# Make it secure
sudo mysql_secure_installation
Step 3: Set the Root Password
# Open MySQL
sudo mysql

# Set the password
ALTER USER 'root'@'localhost' IDENTIFIED WITH mysql_native_password BY 'root';
FLUSH PRIVILEGES;
EXIT;

# Test it
mysql -u root -p
# Type: root
Step 4: Install PHP
For Ubuntu or Debian:
# Install PHP
sudo apt install php libapache2-mod-php php-mysql php-mbstring php-xml php-curl -y

# Restart Apache
sudo systemctl restart apache2

# Check PHP version
php -v
For CentOS or Fedora:
# Install extra repository
sudo dnf install epel-release -y

# Install PHP
sudo dnf install php php-mysqlnd php-mbstring php-xml -y

# Restart Apache
sudo systemctl restart httpd
Check PHP works:
# Create a test file
echo "<?php phpinfo(); ?>" | sudo tee /var/www/html/info.php

# Open in browser: http://localhost/info.php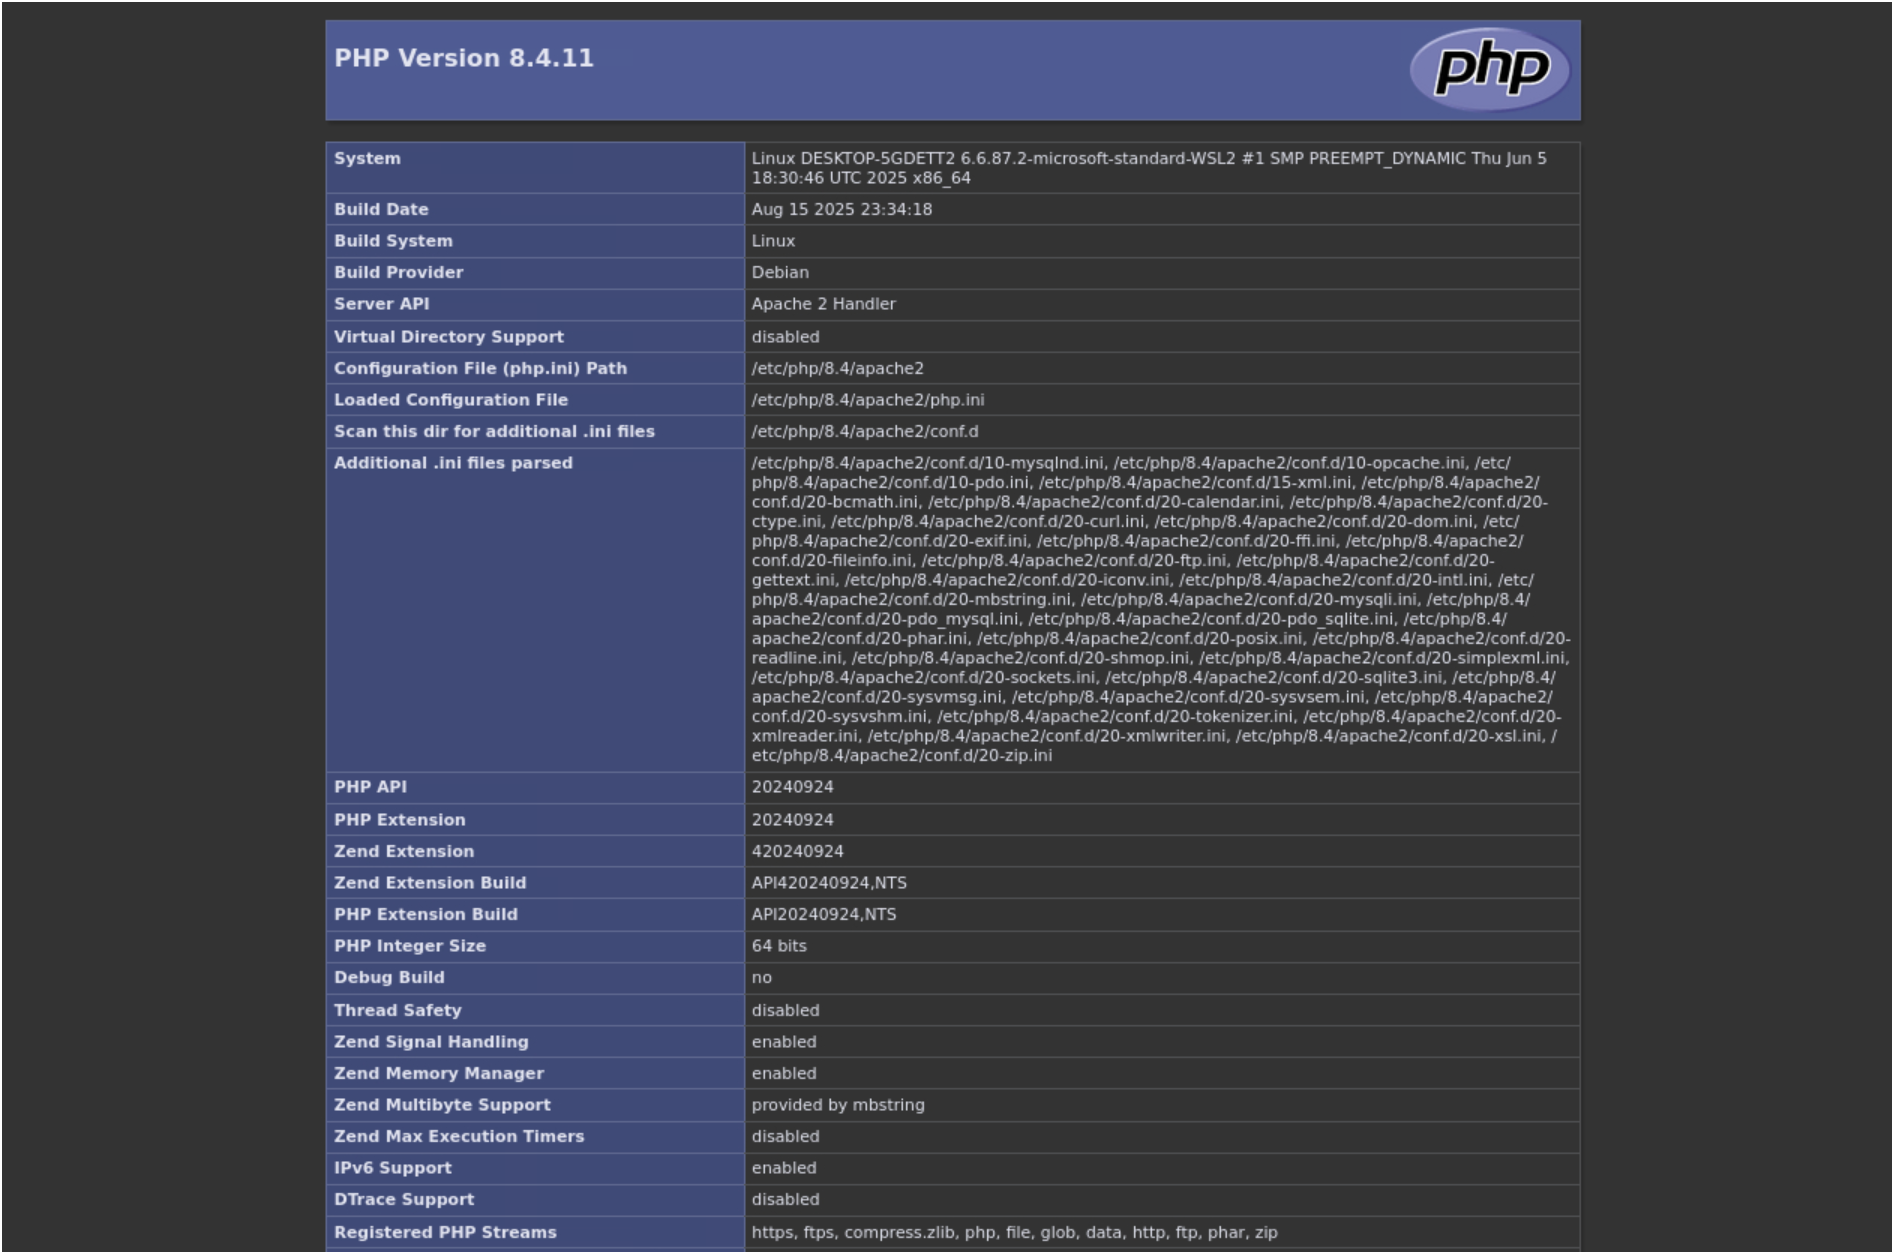
Step 5: Install phpMyAdmin (Optional)
For Ubuntu or Debian:
# Install phpMyAdmin
sudo apt install phpmyadmin -y

# When asked:
# - Choose "apache2"
# - Choose "Yes" for dbconfig-common
# - Set a password

# Enable it
sudo ln -s /etc/phpmyadmin/apache.conf /etc/apache2/conf-available/phpmyadmin.conf
sudo a2enconf phpmyadmin
sudo systemctl restart apache2
Open it: http://localhost/phpmyadmin
Step 6: Set Permissions
# Create folder for LABx_Docs
sudo mkdir -p /var/www/html/LABx_Docs

# Set the owner
sudo chown -R $USER:www-data /var/www/html/LABx_Docs

# Set permissions
sudo chmod -R 775 /var/www/html/LABx_Docs
macOS Setup
Step 1: Install Homebrew
Homebrew is a tool that makes it easy to install software on Mac.
# Install Homebrew
/bin/bash -c "$(curl -fsSL https://raw.githubusercontent.com/Homebrew/install/HEAD/install.sh)"

# Add it to your path (for Apple Silicon Macs)
echo 'eval "$(/opt/homebrew/bin/brew shellenv)"' >> ~/.zprofile
eval "$(/opt/homebrew/bin/brew shellenv)"

# Check it works
brew --version
Step 2: Install Apache
# Stop the built-in Apache (if running)
sudo apachectl stop

# Install Apache with Homebrew
brew install httpd

# Start Apache
brew services start httpd

# Check it works
curl http://localhost:8080
Note: Homebrew Apache uses port 8080, not 80.
Step 3: Install MySQL
# Install MySQL
brew install mysql

# Start MySQL
brew services start mysql

# Make it secure
mysql_secure_installation
Set the root password:
mysql -u root

ALTER USER 'root'@'localhost' IDENTIFIED BY 'root';
FLUSH PRIVILEGES;
EXIT;
Step 4: Install PHP
# Install PHP
brew install php@8.2

# Add it to your path
echo 'export PATH="/opt/homebrew/opt/php@8.2/bin:$PATH"' >> ~/.zshrc
source ~/.zshrc

# Check it works
php -v
Connect PHP to Apache:
Open this file: /opt/homebrew/etc/httpd/httpd.conf
Add these lines:
LoadModule php_module /opt/homebrew/opt/php@8.2/lib/httpd/modules/libphp.so

<FilesMatch \.php$>
    SetHandler application/x-httpd-php
</FilesMatch>
Restart Apache:
brew services restart httpdEasier Option: Use MAMP
If the steps above are too difficult, you can use MAMP instead:
- Download MAMP from https://www.mamp.info/
- Install it
- Open MAMP and click “Start Servers”
- phpMyAdmin is at
http://localhost:8888/phpMyAdmin
Database Setup
Create the Progress Databases
LABx_Docs needs these databases to save your progress:
Using MySQL Workbench or phpMyAdmin:
Run this SQL code:
-- Access Control progress database
CREATE DATABASE IF NOT EXISTS ac_progress;
USE ac_progress;

CREATE TABLE IF NOT EXISTS solved_labs (
    lab_number INT PRIMARY KEY,
    solved_at TIMESTAMP DEFAULT CURRENT_TIMESTAMP,
    reset_count INT DEFAULT 0
);

-- API Security progress database
CREATE DATABASE IF NOT EXISTS api_progress;
USE api_progress;

CREATE TABLE IF NOT EXISTS solved_labs (
    lab_number INT PRIMARY KEY,
    solved_at TIMESTAMP DEFAULT CURRENT_TIMESTAMP,
    reset_count INT DEFAULT 0
);

-- Authentication progress database
CREATE DATABASE IF NOT EXISTS auth_progress;
USE auth_progress;

CREATE TABLE IF NOT EXISTS solved_labs (
    lab_number INT PRIMARY KEY,
    solved_at TIMESTAMP DEFAULT CURRENT_TIMESTAMP,
    reset_count INT DEFAULT 0
);
Using the command line:
mysql -u root -p
# Type password: root
# Then paste the SQL above
Check it worked
SHOW DATABASES;You should see:
ac_progress
api_progress
auth_progress
Install the Project
Step 1: Download the Project
On Windows:
cd C:\xampp\htdocs
git clone https://github.com/M9nx/LABx_Docs.git
On Linux:
cd /var/www/html
sudo git clone https://github.com/M9nx/LABx_Docs.git
sudo chown -R $USER:www-data LABx_Docs
On macOS:
cd /opt/homebrew/var/www
git clone https://github.com/M9nx/LABx_Docs.git
Step 2: Check the Database Settings
Each lab has a config.php file. The default settings are:
<?php
$db_host = 'localhost';
$db_user = 'root';
$db_pass = 'root';
?>
If your password is different, change it in these files.
Step 3: Set Up Lab Databases
Each lab needs its own database. You can set them up one by one:
http://localhost/LABx_Docs/AC/Lab-01/setup_db.phpOr set up all labs at once:
http://localhost/LABx_Docs/AC/setup-all-databases.php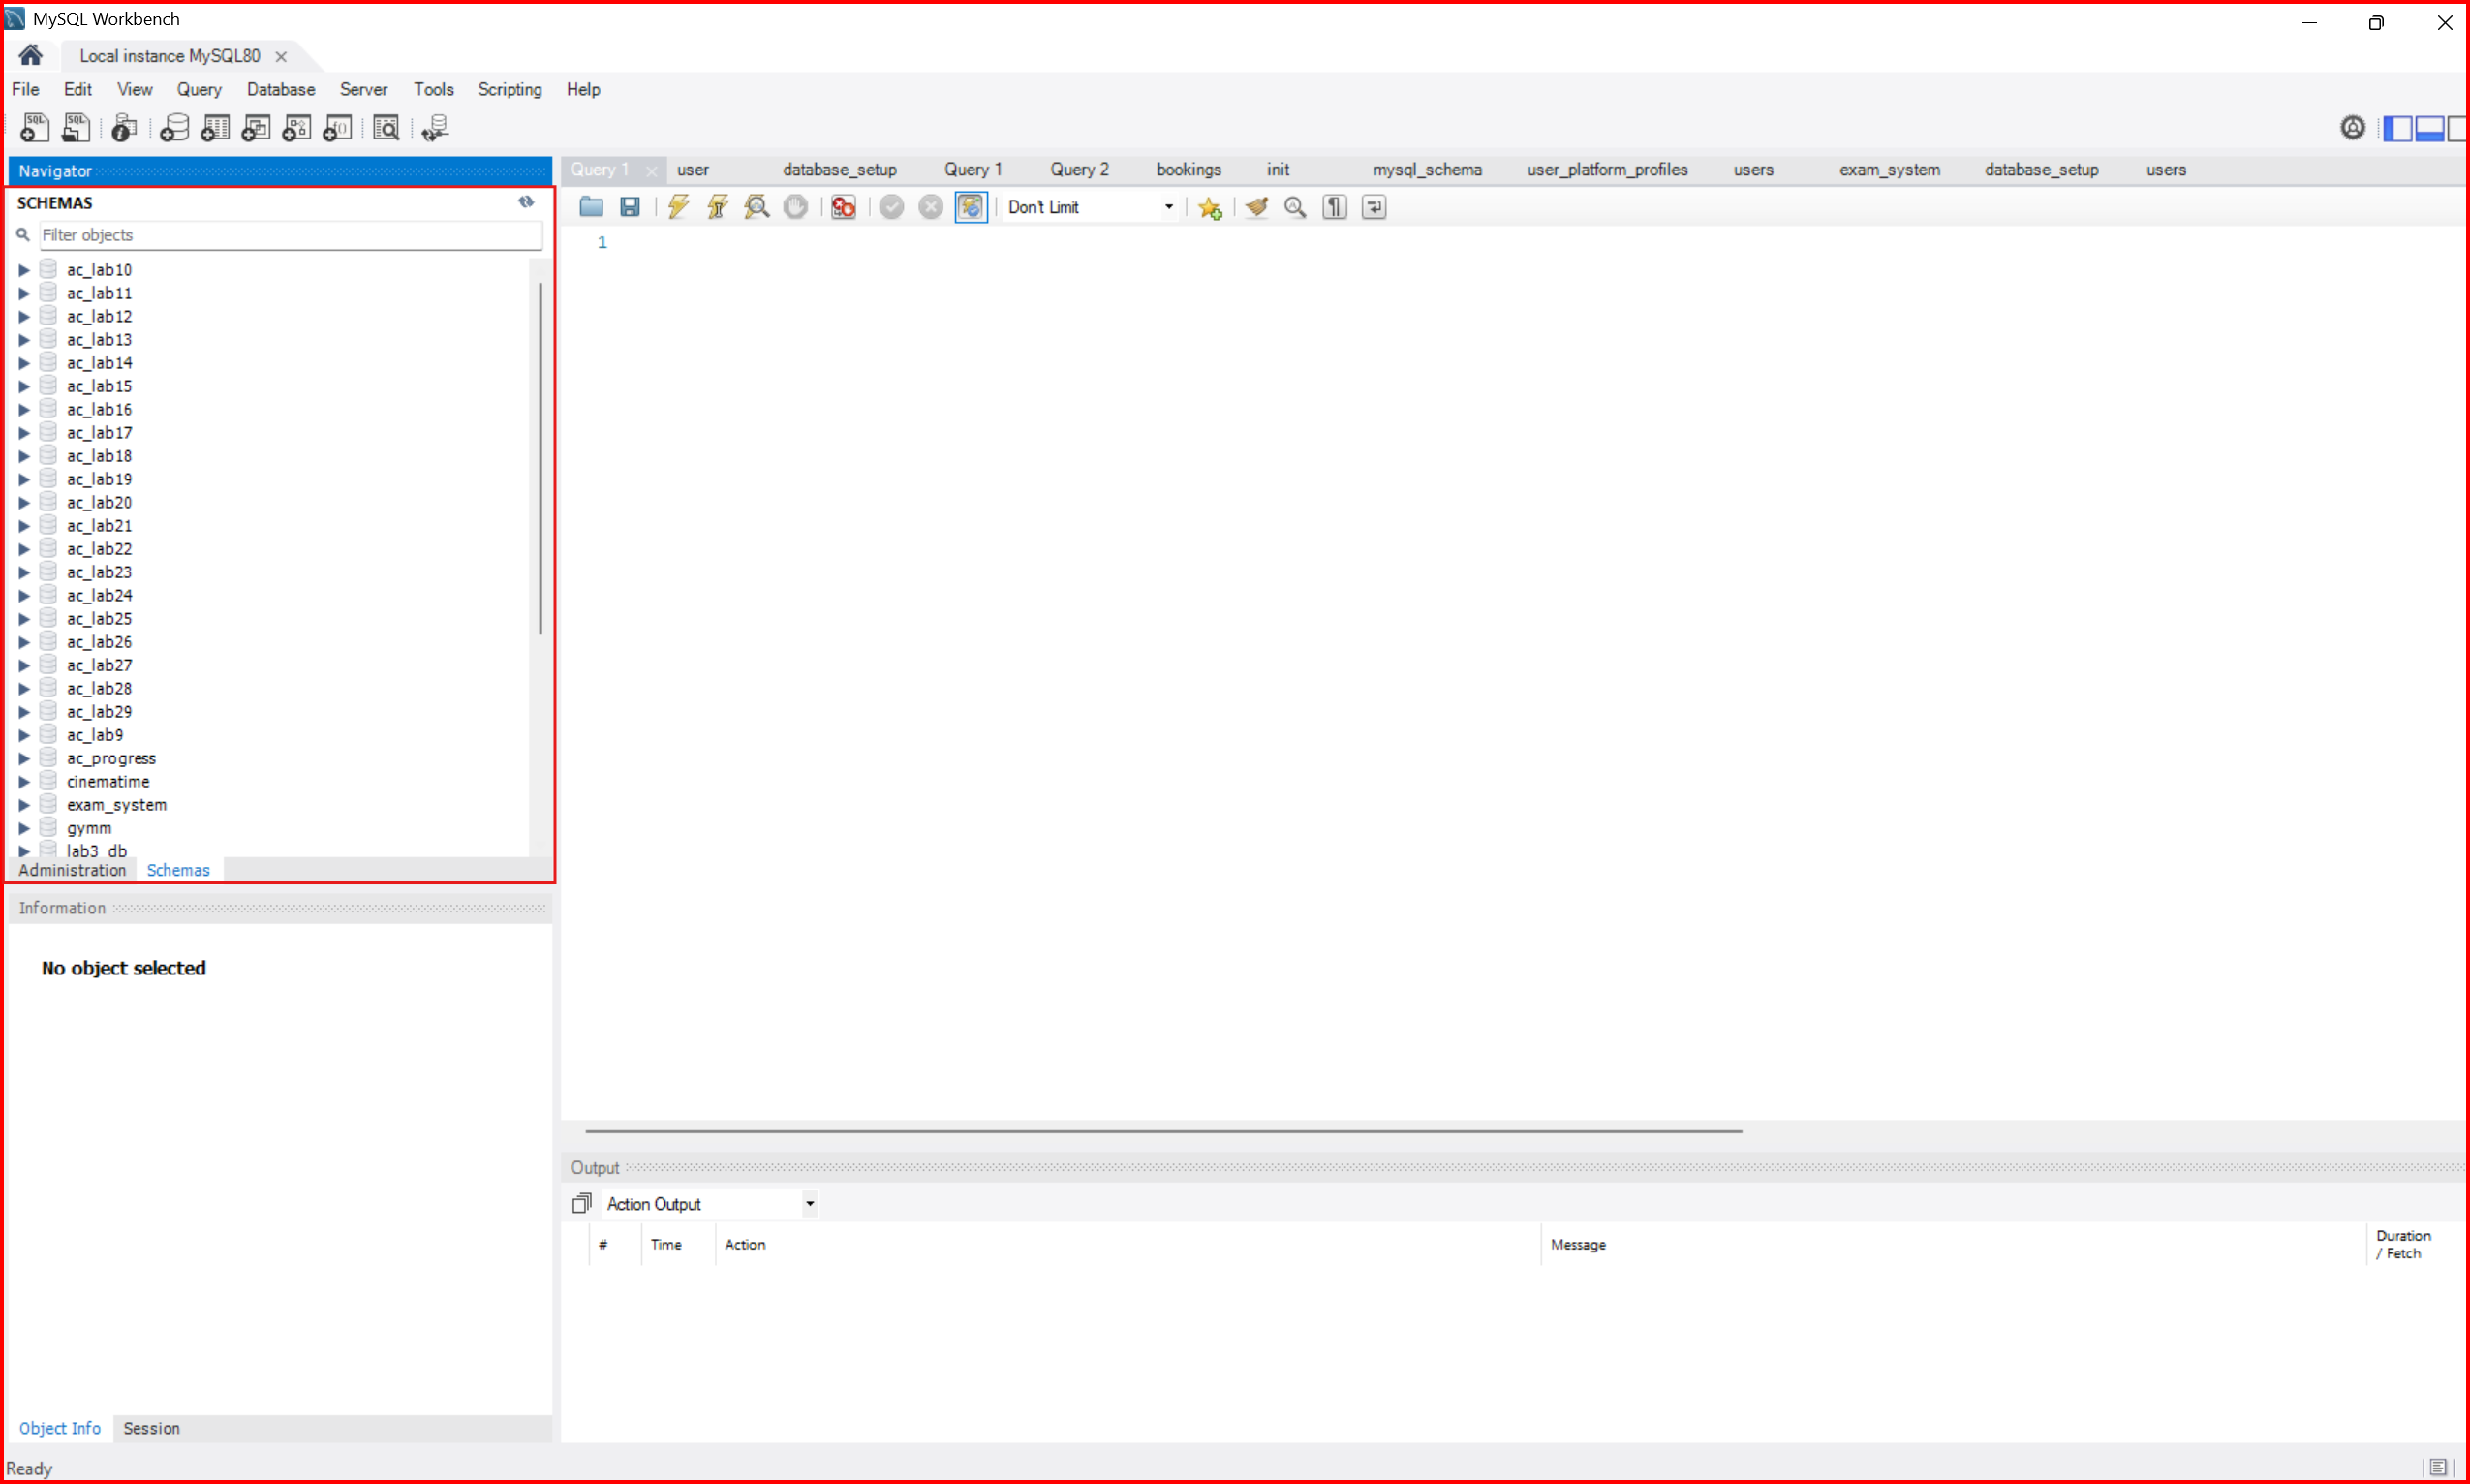
Step 4: Open the Platform
Go to:
http://localhost/LABx_Docs/
How Labs Work
Each lab follows the same steps:
1. SET UP THE DATABASE
   Run setup_db.php to create the tables and test data

2. READ THE DOCUMENTATION
   Learn about the vulnerability and get hints

3. EXPLORE THE APP
   Look around the website, understand how it works

4. FIND THE PROBLEM
   Look for security issues like missing checks

5. USE THE VULNERABILITY
   Make your attack to complete the goal

6. LAB COMPLETED
   The system marks the lab as solved automatically

7. TRY AGAIN (optional)
   Reset the database to practice more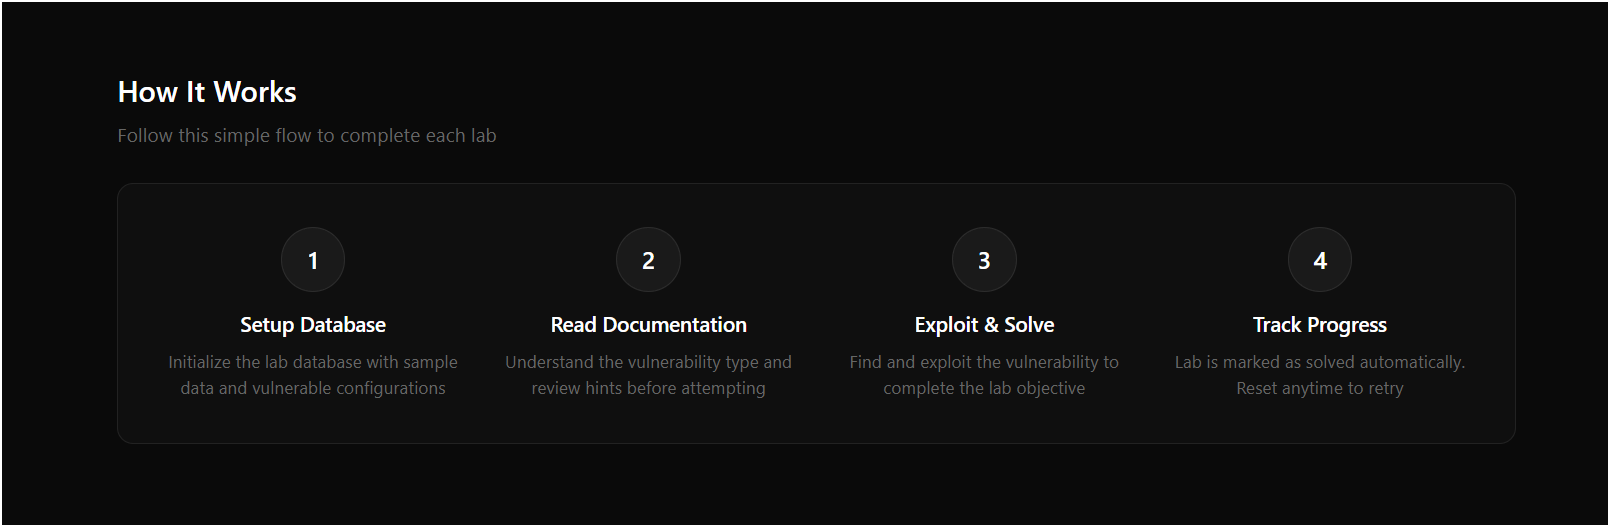
Useful Tools
Browser DevTools:
- Press F12 to open
- Network tab: see all requests
- Elements tab: see the HTML code
- Console tab: see JavaScript errors
Burp Suite:
- Download free version from portswigger.net
- Set your browser proxy to 127.0.0.1:8080
- You can see and change HTTP requests
Common Questions
Setup Problems
Q: XAMPP Apache won’t start - “Port 80 in use”
Another program is using port 80. Usually Skype or IIS.
How to fix:
-
Find what is using port 80:
netstat -aon | findstr :80 -
Stop the other program, OR change Apache to use port 8080:
- Open
C:\xampp\apache\conf\httpd.conf - Change
Listen 80toListen 8080 - Now use
http://localhost:8080
- Open
Q: MySQL won’t start in XAMPP
Maybe another MySQL is already running.
How to fix:
-
Check if MySQL is running:
netstat -aon | findstr :3306 -
If yes, stop the other MySQL in Windows Services
Q: “Access denied for user ‘root’@‘localhost’”
The password is wrong.
How to fix:
- Open XAMPP Shell
- Type:
mysqladmin -u root password 'root'
Or try empty password in config.php:
$db_pass = '';Q: phpMyAdmin shows connection error
The password in config file is wrong.
How to fix:
Open C:\xampp\phpMyAdmin\config.inc.php and set:
$cfg['Servers'][$i]['password'] = 'root';Lab Problems
Q: Lab says “Database connection failed”
The lab database doesn’t exist.
How to fix:
-
Run the setup:
http://localhost/LABx_Docs/AC/Lab-XX/setup_db.php -
Check your password in config.php
Q: My progress is not saving
The progress database doesn’t exist.
How to fix:
- Create the databases (see Database Setup section above)
- Check the tables exist:
USE ac_progress;
SHOW TABLES;
Q: How do I reset a lab?
You can reset any lab to try again:
-
Click “Reset Lab” button on the lab page, OR
-
Go to:
http://localhost/LABx_Docs/AC/Lab-XX/setup_db.php?reset=true
About the Labs
Q: What is IDOR?
IDOR means “Insecure Direct Object Reference”. It happens when a website shows you data using an ID in the URL, and you can change that ID to see other people’s data.
Example:
/profile.php?id=1    <- Your data
/profile.php?id=2    <- Someone else's data (IDOR!)
This is a big security problem because attackers can see or change data they should not access.
Q: What tools do I need?
Basic tools (free):
- Browser DevTools (press F12)
- Burp Suite Community Edition
Helpful tools (free):
- curl (command line)
- Postman (API testing)
Q: What order should I do the labs?
We recommend:
- Start with Apprentice labs (green) - Easy, basic concepts
- Then do Practitioner labs (orange) - Medium difficulty
- Finally Expert labs (red) - Hard, advanced techniques
In each category, the labs are numbered in a good order.
Q: Can I see the answers?
Each lab has:
- Hints to help you
- Documentation explaining the vulnerability
- Clear goal to complete
For full solutions:
- Check the docs.php page for each lab
- Ask in GitHub Discussions
- Some labs show the solution after many tries
Try to solve it yourself first - you learn more that way!
Fixing Problems
Quick Checks
Windows:
:: Is Apache running?
netstat -aon | findstr :80

:: Is MySQL running?
netstat -aon | findstr :3306

:: Is PHP working?
php -v

:: Can you connect to MySQL?
mysql -u root -proot -e "SELECT 1;"
Linux/macOS:
# Check services
sudo systemctl status apache2
sudo systemctl status mysql

# Check PHP
php -v

# Check MySQL connection
mysql -u root -proot -e "SELECT 1;"
Common Errors
| Error | Problem | Solution |
|---|---|---|
| Connection refused | Apache/MySQL not running | Start the service |
| Access denied for root | Wrong password | Fix password in config.php |
| Unknown database | Database doesn’t exist | Run setup_db.php |
| Table doesn’t exist | Setup not complete | Run the full setup script |
| Permission denied | File permissions (Linux) | Run chmod -R 755 |
Start Fresh
If nothing works, you can reset everything:
- Delete all lab databases:
DROP DATABASE IF EXISTS ac_progress;
DROP DATABASE IF EXISTS api_progress;
DROP DATABASE IF EXISTS auth_progress;- Delete and download again:
rm -rf LABx_Docs
git clone https://github.com/M9nx/LABx_Docs.git- Run setup again:
http://localhost/LABx_Docs/AC/setup-all-databases.phpGet Help
Ask the Community
Have a question? Want to share your solution?
GitHub Discussions: github.com/M9nx/LABx_Docs/discussions
- Ask questions about labs
- Share tips
- Talk about security topics
- Show your progress
Report a Bug
Found a problem? Something not working?
GitHub Issues: github.com/M9nx/LABx_Docs/issues
Please include:
- Your operating system
- PHP version
- What you did
- What error you saw
- Which lab has the problem
Contact
For other questions:
X (Twitter): @__m9nx
Learn More
- PortSwigger Web Security Academy - Where this project got ideas from
- OWASP Top 10 - List of common web security problems
- HackerOne Hacktivity - Real bug reports from security researchers
Made for the security community
Home | Repository | Twitter
Last updated: January 2026